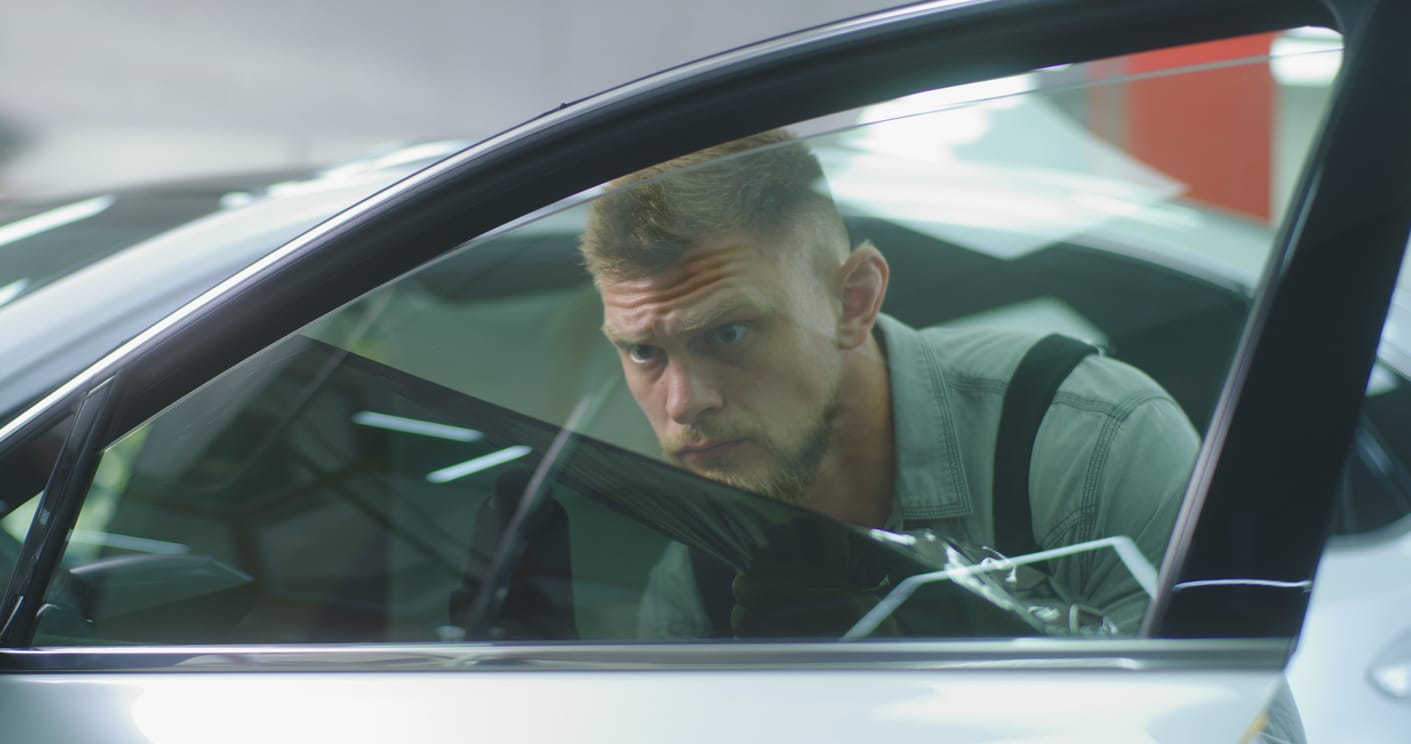
Walk into a window tint shop and start asking about films, and you’ll hear terms thrown around: dyed, metallic, carbon, ceramic. These aren’t just marketing categories—they refer to fundamentally different technologies with real implications for how your tint performs, how long it lasts, how it looks, and how much it costs.

For Calgary and area vehicle owners, understanding this is key to making the right window tinting choice for our unique climate and driving conditions.

Understanding these differences helps you make a decision based on what you actually need rather than what sounds impressive or costs the least.

Dyed Window Film: The Budget Approach

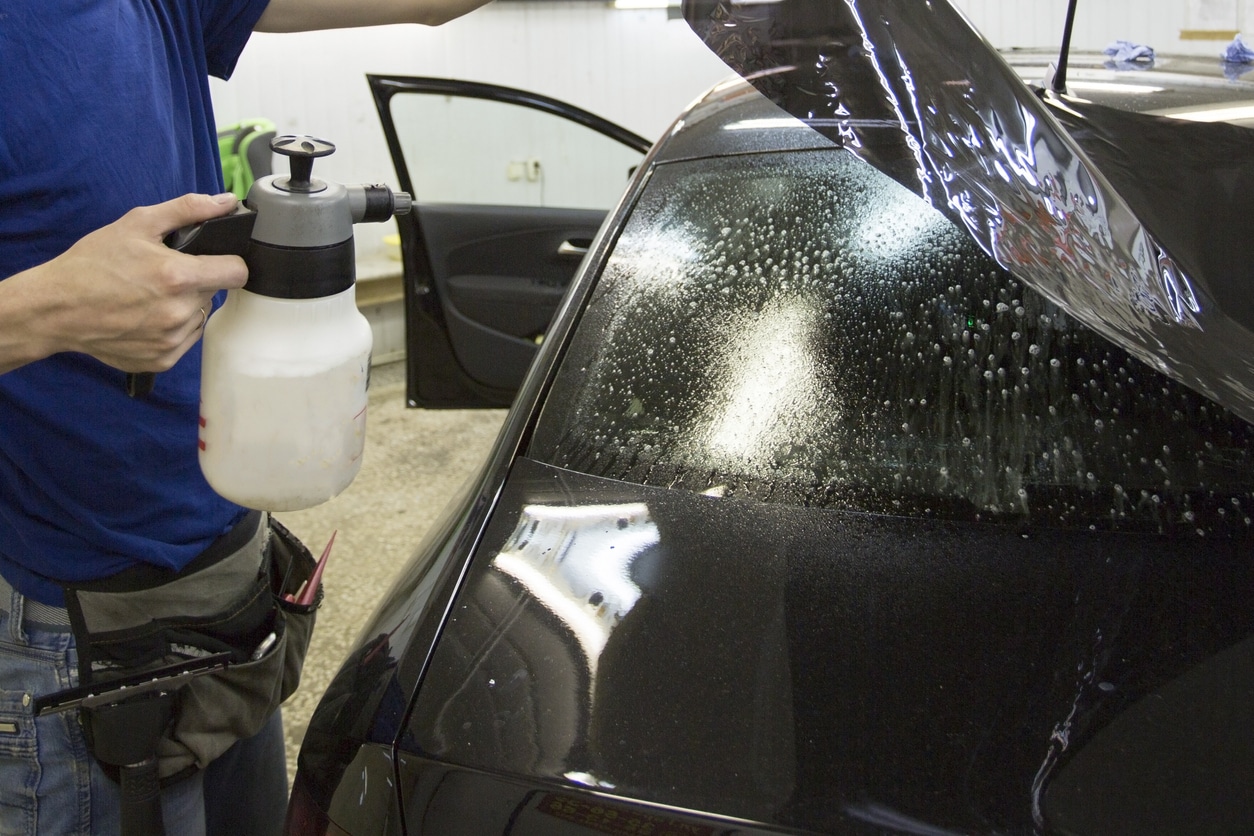
Dyed films are the original window tint technology and are still the cheapest option. The film consists of a polyester base layer with a dye embedded in an adhesive layer, all covered with a protective topcoat.

Here’s how it works: visible light and some of the sun’s heat energy hit the film, the dye absorbs it, and that energy is dissipated as heat through the film. The darkness comes from the dye concentration—more dye means darker tint and more light absorption.

Advantages: Lowest cost, sometimes 40-50% cheaper than other options. UV protection is good. No interference with electronics. Can be applied to any darkness level.

Disadvantages: Limited heat rejection. The dye itself fades over time. Lower lifespan of 3-5 years. Night driving can be compromised.

Dyed films are honest products that work if you need temporary tint or are on a tight budget.

Metallic Window Film: The Heat Rejection Pioneer

Metallic films were the breakthrough that solved dyed film’s heat rejection problem. They contain tiny metallic particles (usually aluminum) embedded in the adhesive layers. These particles reflect solar radiation back out through the window rather than absorbing it.

How they work: Metallic particles act like tiny mirrors. When heat and light hit them, some bounces back out the window. This reflection is more effective at reducing interior temperature than absorption.

Advantages: Excellent heat rejection (60%+ of solar heat). Good durability of 5-10 years. Stable color that doesn’t fade. Good UV protection.

Disadvantages: Reflectivity creates a mirror-like appearance. Can interfere with radio signals and cell phone reception. Moderate cost.

Metallic films traded aesthetic and electronics-compatibility drawbacks for serious heat rejection benefits.

Carbon Window Film: Splitting the Difference

Carbon films represent a middle-ground technology addressing metallic films’ shortcomings. Instead of metallic particles, they use carbon particles to create darkness and heat rejection without reflectivity or electronics interference.

3M Color Stable is the most well-known carbon film, designed to maintain color stability and provide a matte, modern appearance.

How they work: Carbon particles absorb and reflect solar radiation, creating a balance without the mirror-like reflectivity of metallic films.

Advantages: No electronics interference. Better appearance without reflective quality. Good color stability. Moderate heat rejection of 40-50%. Mid-range pricing.

Disadvantages: Heat rejection is adequate but not exceptional. Moderate lifespan. Less heat rejection than metallic films at same darkness.

Carbon films became popular with people wanting better longevity than dyed and better aesthetics than metallic, even if accepting slightly less heat rejection.

Ceramic Window Film: The Modern Standard

Ceramic films represent current generation technology using nano-ceramic particles instead of metallic or carbon. 3M Ceramic IR films achieve exceptional heat rejection (70%+) while maintaining optical clarity.

How they work: Nano-ceramic particles are incredibly small and packed densely into the film. They reflect infrared radiation efficiently. Because ceramics are non-metallic, they don’t interfere with electronics.

Advantages: Exceptional heat rejection (70%+ of solar heat). No electronics interference. Excellent color stability. Superior durability of 8-10+ years. Clear appearance without reflectivity. Advanced construction with additional protective layers.

Disadvantages: Higher cost, sometimes 2-3x the cost of dyed films.

3M Crystalline is another excellent ceramic option, known for exceptional optical clarity and high heat rejection without darkening.

Comparing Performance Head-to-Head

For typical 35% VLT films: Dyed films provide 25-35% heat rejection but poor color stability. Metallic provides 60-65% heat rejection with possible electronics interference. Carbon provides 40-50% heat rejection with good color stability. Ceramic provides 70%+ heat rejection with excellent properties. Dyed has 3-5 year lifespan, metallic 5-8 years, carbon 6-8 years, ceramic 8-10+ years.

What Actually Matters for Your Choice

If cost is primary: Dyed films work. You get UV protection and some heat reduction for the lowest price. Accept shorter lifespan and color fading.

If you want heat rejection and don’t mind cost: Ceramic is worth the investment. You’ll keep your vehicle cooler, it’ll last longer, and no color fading issues.

If you want good performance at moderate cost: Carbon films hit a reasonable middle ground. Better heat rejection than dyed, no color fading, no electronics issues.

If heat rejection matters and electronics work is important: Metallic films deliver excellent heat rejection with the reflective appearance trade-off.

Professional-grade 3M films outperform budget options substantially in longevity and heat rejection. For a vehicle you plan to keep several years, paying once for quality ceramic costs less long-term than paying for cheap dyed film twice.

Ready to Protect Your Vehicle?

Pro Window Tinting is Calgary’s authorized 3M dealer. Get a free quote on professional window tint installation.

Get Your Free Quote

If you’ve ever left something in a sunny window for a few years, you know what fading looks like. That beautiful leather car interior becomes pale and cracked. Your living room couch loses its vibrant color. Hardwood floors develop sun-bleached patches that won’t match the rest of the room. The culprit isn’t the visible light you can see—it’s the invisible radiation you can’t.

For Calgary and area vehicle owners, understanding this is key to making the right window tinting choice for our unique climate and driving conditions.

Understanding why window tint works to prevent fading requires understanding what actually causes the damage in the first place. And it’s more nuanced than most people realize.

What Actually Causes Fading?

Fading happens through two primary mechanisms, and they’re both related to solar radiation that passes right through clear glass.

Ultraviolet (UV) radiation is the main offender. UV light exists in three categories—UVA, UVB, and UVC—classified by their wavelength. UVC is mostly absorbed by the ozone layer and doesn’t reach Earth’s surface. But UVA and UVB make it through standard glass windows, and they’re incredibly reactive at the molecular level.

UV radiation has enough energy to break chemical bonds in dyes, pigments, and the polymers that make up fabrics, leather, and plastic. When those bonds break, the molecules change structure, and what you see is a change in color. With leather, it also breaks down the oils and proteins that keep it supple, which is why sun-damaged leather becomes stiff and cracked.

The second mechanism is infrared (IR) radiation, specifically near-infrared heat. This might surprise you—heat itself causes fading too. High temperatures accelerate the chemical degradation of materials. Materials exposed to continuous heat cycling experience faster molecular breakdown. That’s why a car sitting in the hot sun all summer fades faster than one in a garage, even if the UV exposure is identical.

Here’s the critical part: clear glass blocks almost no UV radiation and passes most infrared heat straight through. When you’re driving with your windows down or standing in a sunny room, you’re getting hit with nearly full-strength UV and IR, with just a tiny fraction filtered.

Ready to Protect Your Vehicle?

Pro Window Tinting is Calgary’s authorized 3M dealer. Get a free quote on professional window tint installation.

Get Your Free Quote

When Should You Remove Window Tint?

Even the best window tint doesn’t last forever — and cheaper films degrade much faster. Here are the signs that it’s time for your tint to go:

  • Purple discoloration — cheap dyed films break down under UV exposure and turn purple
  • Bubbling — air pockets form as the adhesive degrades, usually starting at the edges
  • Peeling edges — the film separates from the glass around the borders
  • Scratches and haze — years of window operation can scratch low-quality films
  • Legal compliance — if your front window tint is darker than Alberta’s 50% VLT minimum, you’ll need it removed to pass inspection

Professional vs DIY Removal

Window tint removal looks simple in theory — peel it off. In practice, it’s one of the most tedious and frustrating automotive tasks you can attempt.

The Problem with Peeling

Window film has two layers: a polyester film layer and an adhesive layer. When you peel old tint, the film often separates from the adhesive, leaving a sticky residue bonded to the glass. Scraping this adhesive off without scratching the glass — especially on rear windows with embedded defroster lines — is where most DIY attempts go wrong.

Professional Removal Methods

Professional shops use a combination of heat, steam, and specialized adhesive removers to cleanly remove both the film and adhesive in one process. The advantages:

Upgrade to premium 3M Ceramic IR window tint.

  • No risk of scratching the glass
  • Defroster lines are preserved (a common casualty of DIY scraping)
  • Complete adhesive removal — no sticky residue left behind
  • The job takes 1-2 hours instead of an entire weekend

DIY Removal Methods

If you’re determined to remove tint yourself, here are the three most common approaches:

1. Steam Method (Best DIY Option)

Using a handheld fabric steamer, apply steam across the tinted surface for several minutes. The heat and moisture soften the adhesive, allowing the film to peel off more cleanly. Work slowly, pulling the film at a 45-degree angle. You’ll still need an adhesive remover for any remaining residue.

2. Heat Gun / Hair Dryer Method

Apply heat evenly across a corner of the film until you can lift an edge. Slowly peel the film while continuing to apply heat ahead of where you’re peeling. The risk: too much heat can crack the glass or damage interior trim. A hair dryer is safer but slower.

3. Soap and Newspaper Method

Apply soapy water to the tinted surface, cover with newspaper, and let it sit in direct sunlight for an hour. The moisture softens the adhesive. This method works but is weather-dependent and slow.

Removing Adhesive Residue

After the film is off, you’ll likely have adhesive residue. Options for removal include: commercial adhesive removers (Goo Gone, 3M adhesive remover), rubbing alcohol and a razor blade (be extremely careful on defroster lines), or a mixture of soapy water and fine steel wool (0000 grade only, and never on tinted or coated glass).

How Much Does Window Tint Removal Cost?

Professional removal typically costs $50-$200 depending on the number of windows and condition of the existing tint. Old, degraded tint that’s been baked on for years takes longer and costs more than relatively new tint. Most shops will discount or waive the removal fee if you’re having new tint installed at the same time.

See how much professional window tinting costs in Calgary.

After Removal: Upgrade to Quality Film

If you’re removing old tint because it’s faded, bubbled, or turned purple, it was almost certainly a cheap film. When you replace it, invest in quality — 3M automotive films are designed to never turn purple, never bubble, and maintain their performance for the life of your vehicle. The difference in longevity more than justifies the price difference.

View our current pricing for 3M replacement tint, or contact us for a removal and re-tint quote.

Signs Your Window Tint Needs Replacing

Not sure if your tint needs removal? Here are the telltale signs that it is time for a replacement. Purple or pink discoloration is the most obvious indicator — this happens when cheap dyed films break down under UV exposure. If your tint has turned any shade of purple, it is no longer providing effective heat rejection and should be replaced.

Bubbling is another clear sign of failure. Small bubbles form when the adhesive breaks down and the film begins separating from the glass. Once bubbling starts, it will only get worse over time. Some shops will try to “re-press” bubbled film, but this is a temporary fix at best — the adhesive has failed and the film needs to come off.

Edge peeling occurs when the film starts lifting at the corners or along the top edge of windows. This is common on older installations, particularly on side windows that are rolled up and down frequently. Once an edge lifts, moisture and dirt get underneath, accelerating the deterioration.

Hazing or cloudiness indicates the adhesive layer is breaking down. The film may look fine from a distance but appears milky or foggy when you look through it at certain angles, especially at night. This can significantly impair visibility and should be addressed promptly.

Why DIY Removal Often Goes Wrong

The internet is full of tutorials suggesting you can remove window tint with a garbage bag, ammonia, and sunshine. While this sometimes works for film that is already peeling badly, it frequently leads to problems that cost more to fix than professional removal would have.

The most common DIY disaster involves rear defroster lines. Your rear window has thin heating elements embedded in or bonded to the glass. Aggressive scraping with razor blades can sever these lines permanently. Once a defroster line is cut, it cannot be repaired — you either live without that section of defroster function or replace the entire rear window, which can cost $400 to $800 or more depending on the vehicle.

Another frequent problem is adhesive residue. Budget films use aggressive adhesives that do not come off cleanly. After removing the film, you are left with a sticky, hazy residue that requires specialized solvents and careful scraping to remove. Many DIYers spend hours trying to clean this off and still end up with streaky, cloudy glass.

Professional removal uses controlled heat and proper technique to soften the adhesive uniformly, allowing the film and adhesive to come off together in one piece. The glass is then polished clean with professional-grade adhesive remover. The entire process typically takes 30 to 60 minutes for a full vehicle.

Cost of Professional Window Tint Removal in Calgary

Professional tint removal in Calgary typically costs between $100 and $250 for a full vehicle, depending on the number of windows, the type of film being removed, and how badly deteriorated it is. Heavily degraded film with baked-on adhesive takes longer to remove and costs more.

At Pro Window Tinting, we offer tint removal as a standalone service or as part of a re-tint package. If you are having old film removed and new 3M film installed, we often include removal at a reduced rate since we are already prepping the glass for installation. Contact us for a quote based on your specific vehicle and situation.

Choosing the Right Replacement Film

If your old tint has failed, take it as an opportunity to upgrade. Whatever film was on your vehicle clearly was not up to the job, so going with the same type or brand would be repeating the same mistake. Consider stepping up to a quality carbon or ceramic film that will last significantly longer.

Our recommendation for Calgary drivers removing failed tint is to invest in at minimum a 3M Colour Stable (carbon) film starting at $299, or ideally a 3M Ceramic IR film starting at $349. Both carry manufacturer warranties against the exact failures that caused your old film to degrade. Browse our packages to find the right film for your vehicle and budget.

Related Articles

How to Choose the Best Window Tinting Shop in Calgary

Calgary has dozens of shops offering window tinting — from dedicated tint specialists to auto body shops that do it on the side. The quality difference between a great installer and a mediocre one is enormous, and you’ll live with the results for years. Here’s how to separate the professionals from the rest.

What to Look For

1. The Film Brand They Carry

This is the single most important question to ask. If a shop can’t tell you the specific brand and product line they use, walk away. Professional shops carry recognized brands — 3M, XPEL, LLumar, or SunTek — and can show you product data sheets with actual performance specifications.

Be wary of shops that use “house brand” or unnamed films. These are typically low-cost imports with no meaningful warranty. At Pro Window Tinting, we exclusively use 3M automotive films — the industry standard for quality and longevity.

2. The Installation Environment

Professional window tinting requires a clean, climate-controlled workspace. Dust is the enemy of a clean tint job — every particle trapped under the film creates a visible imperfection. A shop that tints in an open bay next to bodywork or in an outdoor parking lot will never match the results of a dedicated, enclosed installation bay with filtered air.

3. Warranty — Both Installer and Manufacturer

Quality installations come with two warranties: the installer’s workmanship warranty and the film manufacturer’s product warranty. Ask about both. 3M’s lifetime manufacturer warranty covers defects in the film itself. Our workmanship warranty covers the installation quality.

4. Computer-Cut vs Hand-Cut Film

Modern professional shops use computer-controlled plotters with vehicle-specific templates to pre-cut every piece of film to the exact dimensions of each window. This delivers precision edge-to-edge coverage. Hand-cutting requires a razor blade on or near your glass and gaskets — creating risk of scratches and less precise fit.

5. Reviews and Portfolio

Check Google reviews, and look for consistency. A shop with 100+ reviews averaging 4.8+ stars is a strong indicator of quality work. Also ask to see photos of their recent installations — a confident shop will be happy to show their work.

Read what our customers say on Google Reviews.

Red Flags to Watch For

  • “We use the best tint” — but can’t name the brand or product line
  • Prices significantly below market — quality 3M installation for a full vehicle costs $599-$1,199. If someone quotes $150 for a full car, the film won’t last
  • No dedicated clean room — tinting alongside other auto work guarantees dust contamination
  • Rushing the job — a full vehicle should take 2-3 hours minimum. If they promise 45 minutes, corners are being cut
  • “Lifetime warranty” — but it’s only the installer’s warranty, not the manufacturer’s. If the shop closes, your warranty is gone

Why Cheap Tinting Costs More in the Long Run

A $150 full-car tint job sounds appealing until it fades purple in 18 months and starts bubbling at 2 years. Then you’re paying $100-$200 for removal plus $599-$1,199 for a quality re-do. The math is straightforward: invest in quality once. You can read the detailed cost breakdown here.

What to Expect From Your Tinting Appointment

At a quality shop, here’s the typical process:

  • Consultation: Discussion of film options, VLT choices, and legal compliance for your vehicle
  • Preparation: Thorough cleaning of all glass surfaces
  • Installation: Computer-cut film applied by experienced technicians in a clean environment
  • Inspection: Final quality check before you leave
  • Care instructions: Guidance on the curing period and ongoing maintenance

Pro Window Tinting is Calgary’s authorized 3M window tint dealer. View our pricing or book your appointment today.

Understanding Window Tint Quality: What Separates Premium From Cheap

Not all window tint is created equal, and the difference between a premium film and a budget option goes far beyond price. Cheap dyed films rely on a layer of colored dye sandwiched between adhesive and a protective top coat. Within two to three years, that dye breaks down under Calgary’s intense UV exposure, turning the film purple and bubbly. You have probably seen this on vehicles around the city — it looks terrible and offers almost no heat rejection once degraded.

Premium films like 3M’s Ceramic IR series use nano-ceramic technology that is embedded throughout the film at the molecular level. This means the heat-rejecting properties do not degrade over time. A ceramic tint installed today will perform just as well a decade from now as the day it went on. The same applies to 3M Crystalline, which uses a proprietary multi-layer optical film technology that can reject more heat than many dark films while remaining virtually clear.

Carbon films, like 3M Colour Stable, sit between dyed and ceramic in both performance and price. They will never turn purple because they use carbon particles instead of dye, and they provide decent heat rejection. For Calgary drivers on a budget who still want quality, carbon film is a solid middle ground.

Why Certified Installation Matters in Calgary

Calgary’s climate is one of the harshest environments for window tint. Summer temperatures push past 30°C with intense UV from long daylight hours, while winter brings -30°C cold snaps with rapid temperature swings. Cheap adhesive fails under these conditions. Edges lift, bubbles form, and the film separates from the glass.

A 3M-certified installer follows specific procedures that account for these conditions. The glass must be prepped with a particular cleaning process to remove all contaminants. The film is computer-cut to the exact template for each window to minimize the need for trimming on the glass, which can scratch it. The installation environment must be climate-controlled — a dusty outdoor bay or an unheated garage in January will produce inferior results regardless of the film quality.

Learn about our 3M certification and experience.

Certification also means the installer has passed 3M’s training program and can offer the full manufacturer warranty. Without certification, you may get a shop warranty, but that is only as reliable as the shop itself. 3M’s warranty is backed by one of the largest companies in the world and covers the film for as long as you own the vehicle.

Common Mistakes When Choosing a Tint Shop

The biggest mistake Calgary drivers make is shopping purely on price. A $150 full-vehicle tint deal sounds appealing until the film starts peeling six months later. At that point, you are paying to have it removed and redone — often spending more than if you had chosen a reputable shop from the start.

Another common error is not asking about the specific film being used. Some shops advertise “ceramic tint” but actually use a hybrid film with minimal ceramic content. Ask to see the manufacturer data sheet. Legitimate products from 3M, XPEL, or LLumar come with published specifications showing total solar energy rejected, visible light transmission, and UV rejection percentages.

Skipping the warranty conversation is also a frequent oversight. A lifetime warranty means nothing if the shop that issued it closes next year. Manufacturer-backed warranties transfer with the vehicle and are honored at any authorized dealer nationwide — that is the kind of protection you want on an investment that should last the life of your vehicle.

What to Expect During a Professional Tint Installation

A professional window tint installation at a reputable Calgary shop typically takes between two and four hours for a full vehicle. The process begins with a thorough cleaning of all glass surfaces, inside and out. Any debris, fingerprints, or contaminants left on the glass will be trapped under the film permanently, so this step is critical.

The installer then uses a computer-cut plotter to create precise film templates for each window. This eliminates the need to cut film directly on your glass, which is a common cause of scratches on door glass and rear windows. Each piece is applied using a slip solution, then carefully squeegeed to remove all water and air bubbles.

After installation, the film needs a curing period. In Calgary’s dry climate, this typically takes one to two weeks in summer and up to four weeks in winter. During this time, you may notice small water pockets or a slightly hazy appearance — this is completely normal and will clear as the adhesive fully bonds to the glass.

Window Tinting Costs in Calgary: What You Should Budget

Pricing in Calgary varies significantly depending on the film type, vehicle size, and shop quality. Budget dyed films can run as low as $150 for a full vehicle, but the old saying applies: you get what you pay for. For a quality carbon film from a recognized brand on a standard sedan, expect to pay between $299 and $399. Ceramic films typically range from $349 to $549, and premium options like 3M Crystalline start around $449 and can exceed $600 for larger vehicles.

At Pro Window Tinting, our 3M packages start at $299 for Colour Stable and $349 for Ceramic IR on a standard sedan. Crystalline packages begin at $449. All installations include a 3M manufacturer warranty and are performed by certified technicians in our climate-controlled facility at Chinook or Deerfoot City.

Questions to Ask Before Booking Your Appointment

Before committing to any tint shop in Calgary, ask these questions to ensure you are making the right choice. First, what specific brand and product line do they install? Second, are they certified by the manufacturer? Third, what warranty is provided and who backs it — the shop or the manufacturer? Fourth, is the installation performed in a climate-controlled environment? Fifth, how long have they been in business and can they provide references or point you to Google reviews?

A confident, professional shop will answer all of these without hesitation. If you get vague answers or pushback on any of these questions, consider it a red flag and keep looking.

Ready to work with Calgary’s authorized 3M window tint specialists? Browse our packages or call (403) 891-5980 to book your appointment today.

Related Articles