The Steps to Apply 3M Window Tinting on your Vehicle
Window tinting has become a popular way to add style and privacy to a vehicle, as well as protect the interior from UV rays. 3M window tinting is a high-quality option that provides a range of benefits, including heat reduction, glare reduction, and UV protection. But while many car owners are clearly aware of all the advantages a window tint provides, some car owners might not be so privy to the application process.
Determine the steps to apply 3M window tinting on your vehicle that will give your vehicle more privacy and protection from the natural elements.
Materials Needed
Before beginning the installation process, it is important to gather all the necessary materials. You will need the following:
- 3M window tint film
- Window cleaning solution
- Spray bottle
- Squeegee
- Razor blade or knife
- Heat gun or hair dryer
- Microfiber cloth
Preparation
The first step in applying 3M window tinting is to clean the windows thoroughly. Use a window cleaning solution and a microfiber cloth to remove any dirt or grime from the windows. Be sure to clean the windows both inside and outside to ensure a clear view. Next, use a razor blade or knife to remove any stickers or adhesive residue from the windows. It is important to ensure that the windows are completely clean and free of any debris before applying the window tint.
Measure and Cut the Film
Measure the windows of your vehicle and cut the 3M window tint film to the correct size. It is important to measure carefully and to leave a small amount of extra film on each side to ensure a proper fit. The film can be cut using a sharp razor blade or knife on a clean, flat surface.
Apply the Film
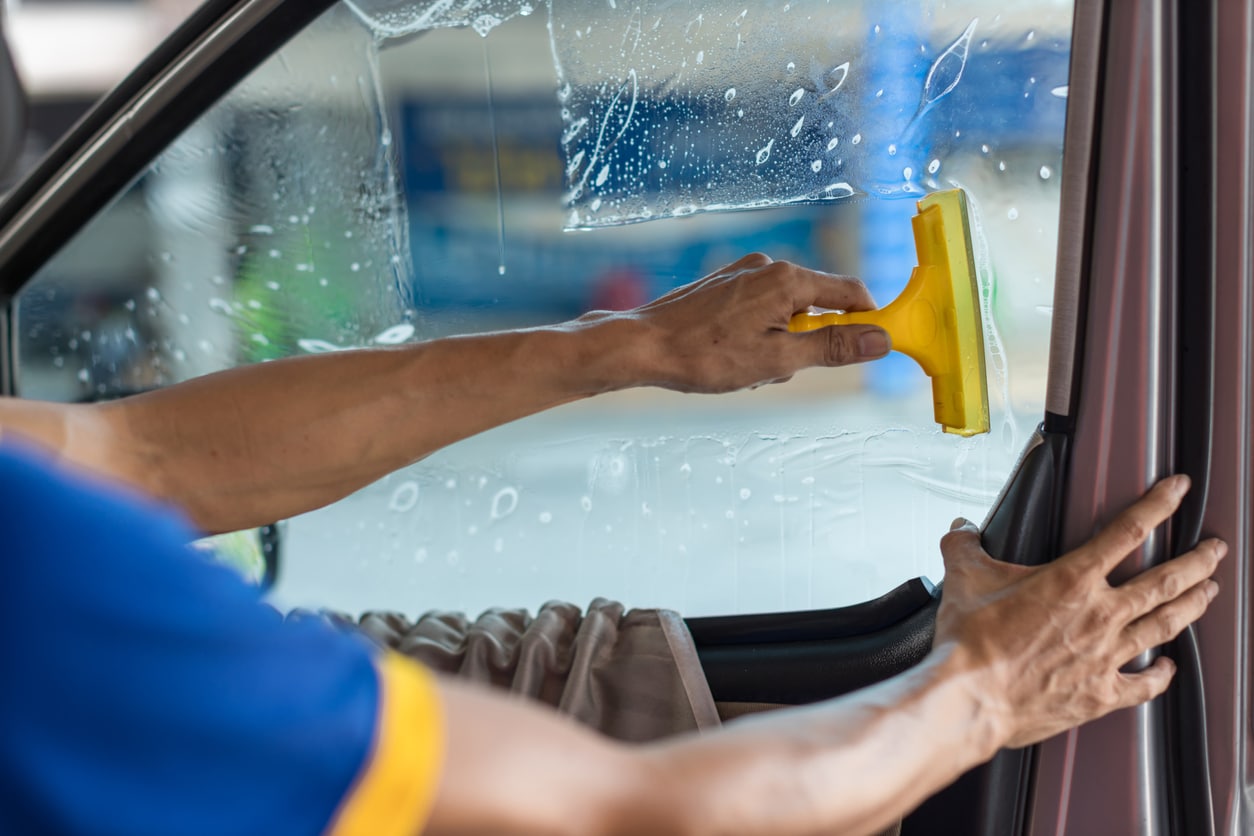
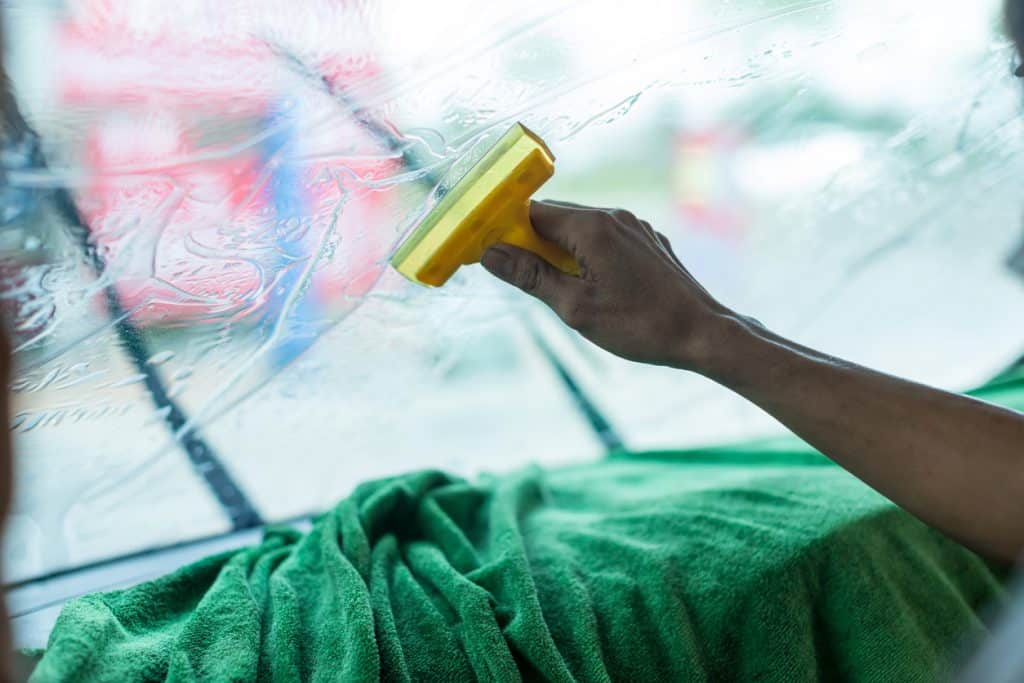
Spray the window with the cleaning solution and use a squeegee to remove any excess solution. Place the film on the window, with the adhesive side facing the glass. Use the squeegee to smooth out any bubbles or wrinkles in the film, starting from the center and working your way outwards. Use the razor blade or knife to trim any excess film from the edges of the window.
Heat Shrink the Film
Using a heat gun or hair dryer, heat the film until it starts to shrink. This will cause the film to conform to the shape of the window. Be sure to heat the film evenly, using a sweeping motion to avoid overheating any one area. Use the squeegee to smooth out any remaining bubbles or wrinkles.
Finalize the Installation
Once the film has been shrunk to fit the window, use the squeegee to smooth out any remaining bubbles or wrinkles. It is important to be gentle during this process to avoid damaging the film. Use the razor blade or knife to trim any excess film from the edges of the window. Finally, use the heat gun or hair dryer to heat the film once more to activate the adhesive and ensure a secure bond.
Conclusion
3M window tinting is a great way to add style, privacy, and protection to your vehicle. Applying the window tint is a straightforward process that can be done at home with the right materials and some patience. By following these steps, you can achieve a professional-looking installation that will provide years of benefits.
With over 15 years of experience, Pro Window Tinting is proud to offer high-end automotive window tinting in Calgary. We only use 3M window tint films for the best possible results. We provide same-day service when you come into our location, as well as mobile services for the most convenient experience. For added protection, increased privacy and a sleek new look, choose 3M window tinting with Calgary Pro Window Tinting. There are multiple packages to choose from, so you can find a window tinting package that is affordable and meets your needs. Give us a call at (403) 891-5980 today and improve the overall appeal of your vehicle with the best window tint in Calgary.