Why Tint Your Car Windows? The Real Benefits

Window tinting isn’t just about aesthetics — though a professionally tinted vehicle undeniably looks sharp. The real value lies in the practical benefits that impact your daily driving experience, your health, and your vehicle’s longevity. Here’s a comprehensive look at why Calgary drivers are increasingly choosing professional window tinting.

1. UV Protection — Your Skin and Interior Will Thank You

All three grades of 3M window film we install block 99% of harmful ultraviolet rays. This matters more than most people realize:

  • The Skin Cancer Foundation recognizes window tinting as a skin protection measure
  • Drivers receive disproportionate UV exposure on the left side of their face and arm — window tint equalizes this
  • UV rays are the primary cause of dashboard cracking, leather fading, and upholstery deterioration
  • Even on cloudy days, UV radiation penetrates through glass — tint provides year-round protection

This is particularly relevant in Calgary, where our high altitude means UV intensity is stronger than at sea level. Even our entry-level 3M Carbon film provides full 99% UV protection.

2. Heat Rejection — Stay Cool Without Cranking the AC

Calgary summers can push interior car temperatures well above 50°C when parked in direct sun. Quality window tint dramatically reduces heat buildup:

  • 3M Carbon (Colour Stable): Blocks a significant portion of solar energy for noticeable heat reduction
  • 3M Ceramic IR: Rejects up to 66% of total solar energy — the biggest improvement in cabin comfort
  • 3M Crystalline: Rejects up to 97% of infrared heat while remaining nearly invisible

Less heat means less air conditioning, which means better fuel economy. Drivers consistently report a noticeable difference in AC workload after tinting — your compressor doesn’t have to fight as hard to cool the cabin.

3. Glare Reduction — Safer, More Comfortable Driving

Sun glare is one of the leading causes of temporary driver impairment. Window tint reduces glare from direct sunlight, reflected light off snow and pavement, and headlight glare from oncoming traffic at night. In Calgary, where winter sun sits low on the horizon and reflects intensely off snow, glare reduction is a genuine safety feature — not just a comfort one.

4. Privacy and Security

Tinted rear windows provide significant privacy for you and your passengers. Beyond comfort, this has practical security benefits — valuables left in your vehicle are less visible to potential thieves. Darker tints on rear windows (which are fully legal in Alberta) effectively prevent anyone from seeing inside your vehicle.

5. Shatter Protection

Window film adds a layer of protection in the event of an accident or break-in. While it won’t make your windows unbreakable, the film holds shattered glass together rather than letting it scatter into the cabin. This reduces the risk of glass-related injuries in a collision and makes smash-and-grab theft more difficult.

6. Interior Preservation

UV rays and heat are the two biggest enemies of your vehicle’s interior. Without protection, your dashboard, leather seats, and trim will fade, crack, and deteriorate years earlier than they should. Window tint acts as sunscreen for your car’s interior — preserving the colour, texture, and value of every surface inside.

This directly impacts resale value. A vehicle with a well-preserved interior commands significantly more at trade-in or private sale.

7. Energy Efficiency

For those driving electric or hybrid vehicles like Teslas, the heat rejection from window tint translates directly to extended range. Less AC usage means more battery for driving. Even for gas and diesel vehicles, the reduced load on the air conditioning system means measurable fuel savings over the life of the vehicle.

Winter Benefits — Why Calgary Drivers Tint Year-Round

Many people assume window tinting is only useful in summer. In reality, the benefits are equally valuable during Calgary’s long winters:

  • UV protection is year-round — UV rays penetrate clouds and reflect off snow
  • Heat retention — tint helps insulate the cabin, keeping warmth inside longer when parked
  • Glare reduction — critical during winter when low sun angles create intense glare, especially off fresh snow
  • Interior protection — UV damage occurs every month of the year

The Science Behind How Window Tint Works

Window tint films work by selectively filtering different wavelengths of light. The sun’s energy reaches your car in three forms: visible light (what you see), ultraviolet light (what causes sunburn and fading), and infrared radiation (what you feel as heat).

Basic dyed films primarily reduce visible light. More advanced films like 3M’s Ceramic IR use nano-ceramic particles to selectively block infrared radiation while allowing more visible light through — meaning you get superior heat rejection without needing a very dark tint.

3M Crystalline takes this further with multilayer optical film technology that rejects more heat than many dark films while appearing nearly clear. It’s the most advanced window film technology available.

Ready to Experience the Difference?

The benefits of professional window tinting compound over time — every drive is more comfortable, your interior stays newer longer, and your skin is protected every day. Check out our current pricing or cost guide to see what fits your budget. We’d be happy to show you film samples and help you choose the right grade for your needs.

Can You Install Window Tint Yourself? DIY vs Professional

With DIY window tint kits available for as little as $30-$100, it’s tempting to save money and tint your own windows. But before you grab a squeegee and a spray bottle, here’s what the process actually involves — and why most DIY attempts end up at a professional shop anyway.

How Professional Window Tint Installation Works

Understanding the professional process helps explain why the results are so different from DIY attempts.

Step 1: Vehicle Preparation

Your vehicle’s windows are thoroughly cleaned inside and out using specialized solutions that remove every trace of dust, oil, and residue. Even a single particle trapped under the film creates a visible bubble. Professional shops use filtered, climate-controlled bays to minimize airborne contaminants — something impossible to replicate in a garage or driveway.

Step 2: Computer-Cut Film

Professional installers use plotters with precise vehicle-specific templates to cut the film to the exact shape of each window. This ensures edge-to-edge coverage without gaps or overlap. DIY kits often come with oversized sheets that you cut freehand — resulting in uneven edges and exposed strips of untinted glass.

Step 3: Heat Shrinking

Car windows are curved, not flat. To make a flat sheet of film conform to a curved surface, professionals use heat guns to shrink the film on the outside of the glass first, creating the exact curvature needed. This is the step that separates professional results from DIY — without proper heat shrinking, you get fingers (creases) in the film, especially on rear windshields with high curvature.

Step 4: Application

The film’s adhesive liner is removed, a slip solution is applied, and the film is positioned on the inside of the glass. Using specialized squeegees, the installer works out all solution and air from under the film, starting from the center and pushing outward. The edges are tucked under door seals and trim for a seamless finish.

Step 5: Curing

After installation, the film needs 3-7 days to fully cure. During this period, small water bubbles may be visible — this is normal and they disappear as the adhesive fully bonds. In Calgary’s colder months, curing can take longer, which is why our climate-controlled installation bay maintains optimal conditions year-round.

Common DIY Mistakes

Here’s what goes wrong with most DIY tint jobs:

Dust and Debris

The number one problem. Even in a “clean” garage, there’s enough airborne dust to create dozens of visible bubbles under the film. Professional shops use filtered air systems and wet installation techniques that are difficult to replicate at home.

Creasing on Curved Glass

Rear windshields and some side windows have significant curvature. Without a heat gun and the technique to use it properly, the film won’t conform to the curve — leaving visible creases (called “fingers”) that never smooth out.

Poor Edge Trimming

Cutting the film to fit perfectly around the edges, defroster lines, and third brake lights is precision work. Even a millimeter off creates a visible gap or overlap. Computer-cut templates eliminate this problem entirely.

Film Quality

Most DIY kits use dyed films that fade to purple within 1-3 years. Professional-grade 3M films use ceramic, carbon, or multilayer optical technology that maintains its appearance for the life of the vehicle.

The True Cost Comparison

Here’s the real math:

  • DIY kit: $30-$100 for film + $10-$20 for tools = $40-$120 out of pocket
  • Likely outcome: Bubbles, creases, and fading within 1-2 years
  • Re-do cost: Professional removal ($50-$150) + professional installation ($299-$1,199)
  • Total spent: $389-$1,469

Compare that to:

  • Professional 3M installation: $299-$1,199 (one time, lifetime warranty)

Going professional the first time almost always costs less than doing it yourself and then paying to fix it.

When DIY Might Make Sense

To be fair, there are a few scenarios where DIY tinting can work:

  • You’re tinting flat glass on a building or home (no complex curves)
  • You have professional-grade equipment and a clean workspace
  • You’re applying pre-cut kits to simple, flat windows
  • You’re comfortable with the possibility of imperfect results

For automotive applications on curved glass, professional installation is the way to go.

What to Look for in a Professional Installer

Not all tint shops are created equal. Here’s what matters:

  • Brand of film: Ask what brand they use. Reputable shops use 3M, XPEL, or LLumar — not generic or “house brand” films.
  • Warranty: Quality film comes with a manufacturer’s warranty. 3M provides a lifetime warranty on all automotive films.
  • Clean facility: The installation area should be climate-controlled and clean. If the shop looks dusty, your tint will be too.
  • Experience: Ask how many vehicles they’ve tinted. Experience matters enormously with complex installations.
  • Reviews: Check Google reviews and ask to see examples of their work.

At Pro Window Tinting, we’re an authorized 3M dealer with a dedicated installation facility in Calgary. Every installation comes with a lifetime 3M warranty. View our pricing or contact us for a consultation.

When Should You Remove Window Tint?

Even the best window tint doesn’t last forever — and cheaper films degrade much faster. Here are the signs that it’s time for your tint to go:

  • Purple discoloration — cheap dyed films break down under UV exposure and turn purple
  • Bubbling — air pockets form as the adhesive degrades, usually starting at the edges
  • Peeling edges — the film separates from the glass around the borders
  • Scratches and haze — years of window operation can scratch low-quality films
  • Legal compliance — if your front window tint is darker than Alberta’s 50% VLT minimum, you’ll need it removed to pass inspection

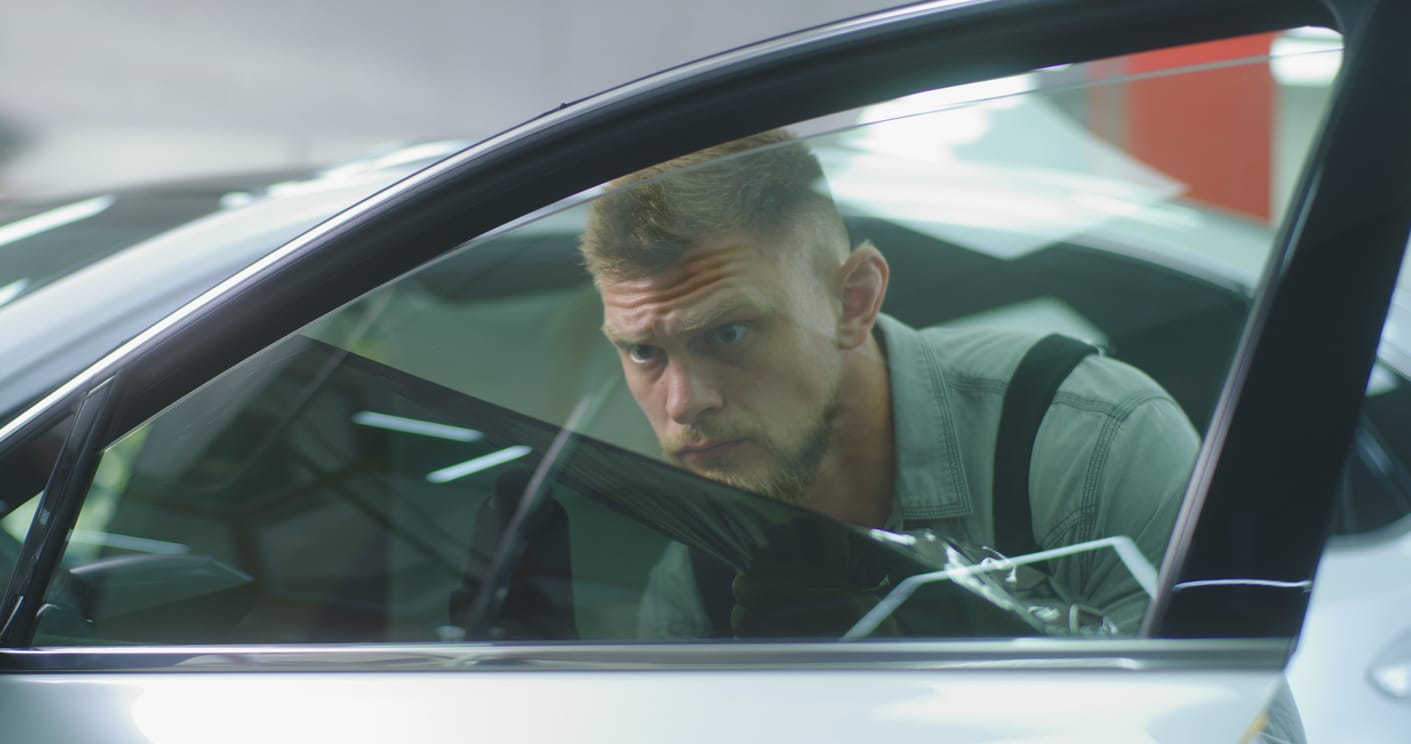
Professional vs DIY Removal

Window tint removal looks simple in theory — peel it off. In practice, it’s one of the most tedious and frustrating automotive tasks you can attempt.

The Problem with Peeling

Window film has two layers: a polyester film layer and an adhesive layer. When you peel old tint, the film often separates from the adhesive, leaving a sticky residue bonded to the glass. Scraping this adhesive off without scratching the glass — especially on rear windows with embedded defroster lines — is where most DIY attempts go wrong.

Professional Removal Methods

Professional shops use a combination of heat, steam, and specialized adhesive removers to cleanly remove both the film and adhesive in one process. The advantages:

  • No risk of scratching the glass
  • Defroster lines are preserved (a common casualty of DIY scraping)
  • Complete adhesive removal — no sticky residue left behind
  • The job takes 1-2 hours instead of an entire weekend

DIY Removal Methods

If you’re determined to remove tint yourself, here are the three most common approaches:

1. Steam Method (Best DIY Option)

Using a handheld fabric steamer, apply steam across the tinted surface for several minutes. The heat and moisture soften the adhesive, allowing the film to peel off more cleanly. Work slowly, pulling the film at a 45-degree angle. You’ll still need an adhesive remover for any remaining residue.

2. Heat Gun / Hair Dryer Method

Apply heat evenly across a corner of the film until you can lift an edge. Slowly peel the film while continuing to apply heat ahead of where you’re peeling. The risk: too much heat can crack the glass or damage interior trim. A hair dryer is safer but slower.

3. Soap and Newspaper Method

Apply soapy water to the tinted surface, cover with newspaper, and let it sit in direct sunlight for an hour. The moisture softens the adhesive. This method works but is weather-dependent and slow.

Removing Adhesive Residue

After the film is off, you’ll likely have adhesive residue. Options for removal include: commercial adhesive removers (Goo Gone, 3M adhesive remover), rubbing alcohol and a razor blade (be extremely careful on defroster lines), or a mixture of soapy water and fine steel wool (0000 grade only, and never on tinted or coated glass).

How Much Does Window Tint Removal Cost?

Professional removal typically costs $50-$200 depending on the number of windows and condition of the existing tint. Old, degraded tint that’s been baked on for years takes longer and costs more than relatively new tint. Most shops will discount or waive the removal fee if you’re having new tint installed at the same time.

After Removal: Upgrade to Quality Film

If you’re removing old tint because it’s faded, bubbled, or turned purple, it was almost certainly a cheap film. When you replace it, invest in quality — 3M automotive films are designed to never turn purple, never bubble, and maintain their performance for the life of your vehicle. The difference in longevity more than justifies the price difference.

View our current pricing for 3M replacement tint, or contact us for a removal and re-tint quote.

Signs Your Window Tint Needs Replacing

Not sure if your tint needs removal? Here are the telltale signs that it is time for a replacement. Purple or pink discoloration is the most obvious indicator — this happens when cheap dyed films break down under UV exposure. If your tint has turned any shade of purple, it is no longer providing effective heat rejection and should be replaced.

Bubbling is another clear sign of failure. Small bubbles form when the adhesive breaks down and the film begins separating from the glass. Once bubbling starts, it will only get worse over time. Some shops will try to “re-press” bubbled film, but this is a temporary fix at best — the adhesive has failed and the film needs to come off.

Edge peeling occurs when the film starts lifting at the corners or along the top edge of windows. This is common on older installations, particularly on side windows that are rolled up and down frequently. Once an edge lifts, moisture and dirt get underneath, accelerating the deterioration.

Hazing or cloudiness indicates the adhesive layer is breaking down. The film may look fine from a distance but appears milky or foggy when you look through it at certain angles, especially at night. This can significantly impair visibility and should be addressed promptly.

Why DIY Removal Often Goes Wrong

The internet is full of tutorials suggesting you can remove window tint with a garbage bag, ammonia, and sunshine. While this sometimes works for film that is already peeling badly, it frequently leads to problems that cost more to fix than professional removal would have.

The most common DIY disaster involves rear defroster lines. Your rear window has thin heating elements embedded in or bonded to the glass. Aggressive scraping with razor blades can sever these lines permanently. Once a defroster line is cut, it cannot be repaired — you either live without that section of defroster function or replace the entire rear window, which can cost $400 to $800 or more depending on the vehicle.

Another frequent problem is adhesive residue. Budget films use aggressive adhesives that do not come off cleanly. After removing the film, you are left with a sticky, hazy residue that requires specialized solvents and careful scraping to remove. Many DIYers spend hours trying to clean this off and still end up with streaky, cloudy glass.

Professional removal uses controlled heat and proper technique to soften the adhesive uniformly, allowing the film and adhesive to come off together in one piece. The glass is then polished clean with professional-grade adhesive remover. The entire process typically takes 30 to 60 minutes for a full vehicle.

Cost of Professional Window Tint Removal in Calgary

Professional tint removal in Calgary typically costs between $100 and $250 for a full vehicle, depending on the number of windows, the type of film being removed, and how badly deteriorated it is. Heavily degraded film with baked-on adhesive takes longer to remove and costs more.

At Pro Window Tinting, we offer tint removal as a standalone service or as part of a re-tint package. If you are having old film removed and new 3M film installed, we often include removal at a reduced rate since we are already prepping the glass for installation. Contact us for a quote based on your specific vehicle and situation.

Choosing the Right Replacement Film

If your old tint has failed, take it as an opportunity to upgrade. Whatever film was on your vehicle clearly was not up to the job, so going with the same type or brand would be repeating the same mistake. Consider stepping up to a quality carbon or ceramic film that will last significantly longer.

Our recommendation for Calgary drivers removing failed tint is to invest in at minimum a 3M Colour Stable (carbon) film starting at $299, or ideally a 3M Ceramic IR film starting at $349. Both carry manufacturer warranties against the exact failures that caused your old film to degrade. Browse our packages to find the right film for your vehicle and budget.